Let's Go Thomas
Let's Go Thomas is an interactive story-telling toy from HIT Toys that was launched in 2009. Let's Go Thomas requires three C batteries to operate.
Basic Functions & Appearance
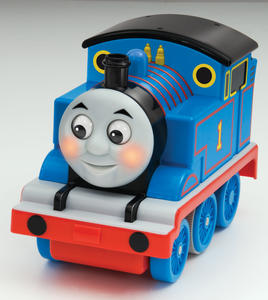
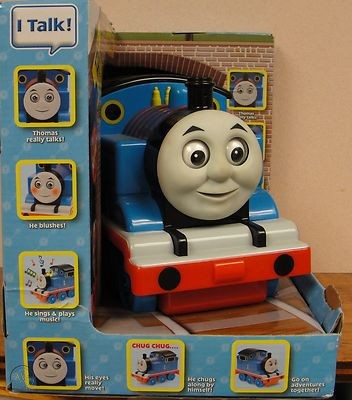
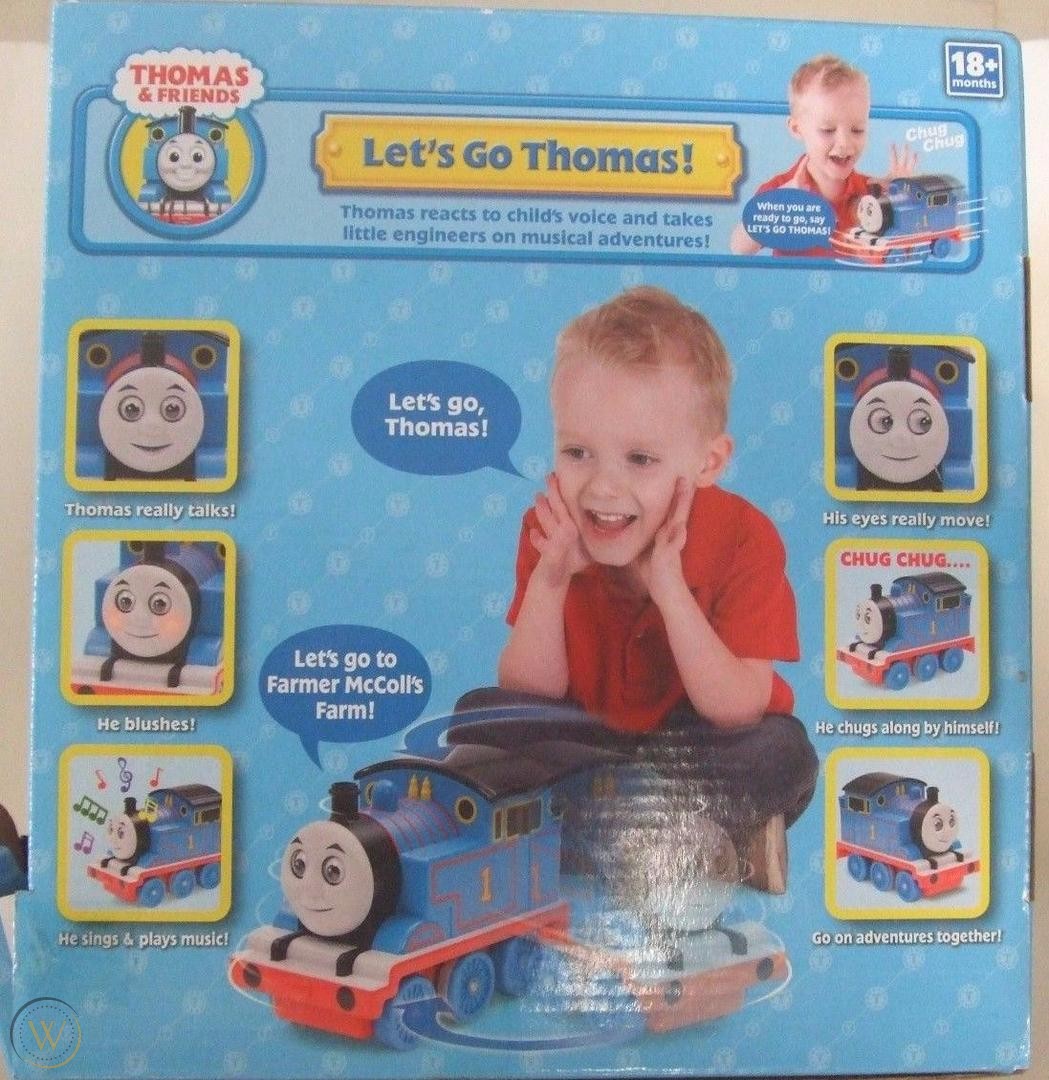
The toy resembles the character from the show, but is missing a few minor details such as his lamp and the pistons for his wheels. His cheeks glow red when he feels exhausted, his mouth moves as he speaks, he can blink his eyes, and his eyes can only move left and right. He can also move forward, backwards, right, or left. He can tilt back and forth, too.
Sensors
The toy has a small, red light at the back which is used as a power indicator. It normally stays lit, but if the light begins to flash, this means the batteries need to be changed. Let's Go Thomas has a sensor which detects audio input, and a light sensor in his funnel. His blue dome is a button which you can press. The funnel has a hole on the front for the light sensor, and the roof of Thomas's cab has three holes for the audio sensor.
Thomas also has collision detection. If Thomas bumps into something, he can reverse away from the obstacle and keep moving. However, if Thomas gets stuck, you may still need to help him.
Interactivity
Thomas's switch has four settings:- On
- Off
- Try Me
- Follow Me
"Try Me" Mode
Thomas will perform three routines when either his dome is pressed or if you walk past him, within 2 feet.
"Follow-me" Mode
This mode allows Thomas to search for the source of a noise. Thomas does not speak or play music in this mode. If you call "Thomas!", he will turn towards you and go to you, as demonstrated in the toy's official demo.
Adventure Mode
Switch Thomas on, and press the blue dome to begin playing with him. Thomas will begin speaking and ask you to say "Let's go, Thomas!". Thomas will then begin his adventure, prompting you to say "Let's Go, Thomas!" sometimes. Thomas can sing and tell stories in this mode.
For the "Follow Me" and "Adventure" modes, Thomas will fall asleep after 2 minutes if you don't respond to him when he prompts you to say "Let's Go Thomas!". Pressing the blue dome will wake him up.
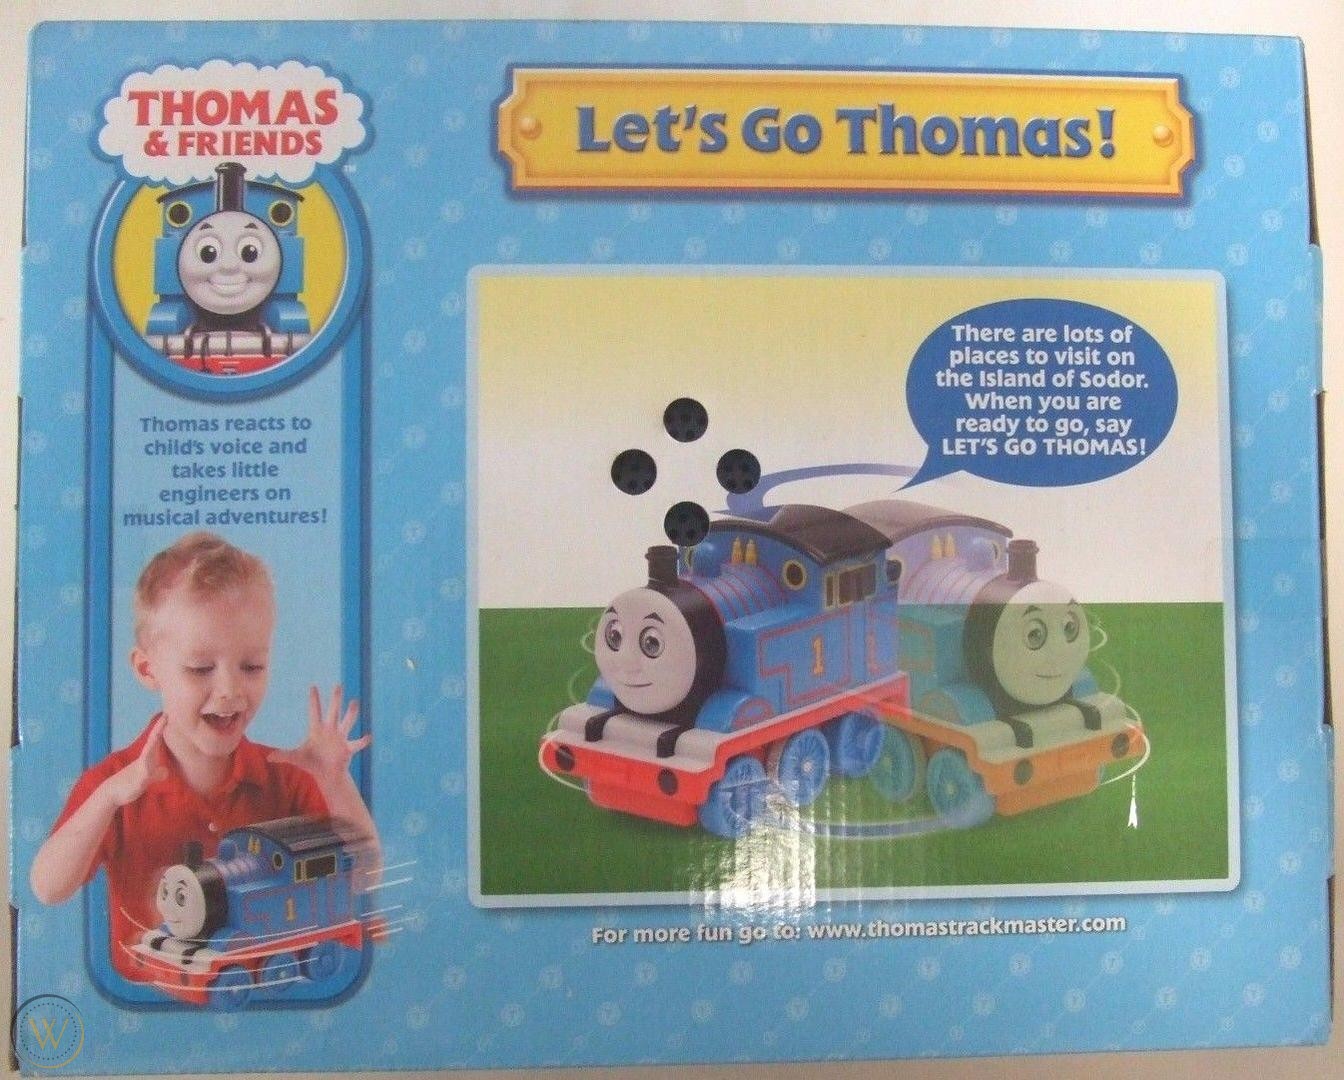
Prototype

A prototype version of the toy can be seen at the end of the video, and it has also appeared on the boxes of some Let's Go Thomas toys. In contrast to the released toy, this prototype's face looks to be made of hard plastic, and it isn't obvious that the toy has gaps where its eyes are (don't know if the eyes actually move). The mouth of the prototype doesn't look like it can move, yet box art shows edited images of its eyes moving and its face blushing.
Manual
You can click here to view a reupload of the toy's manual or to download it. Or, you can access the instruction manual via the Wayback machine.
Different Boxes
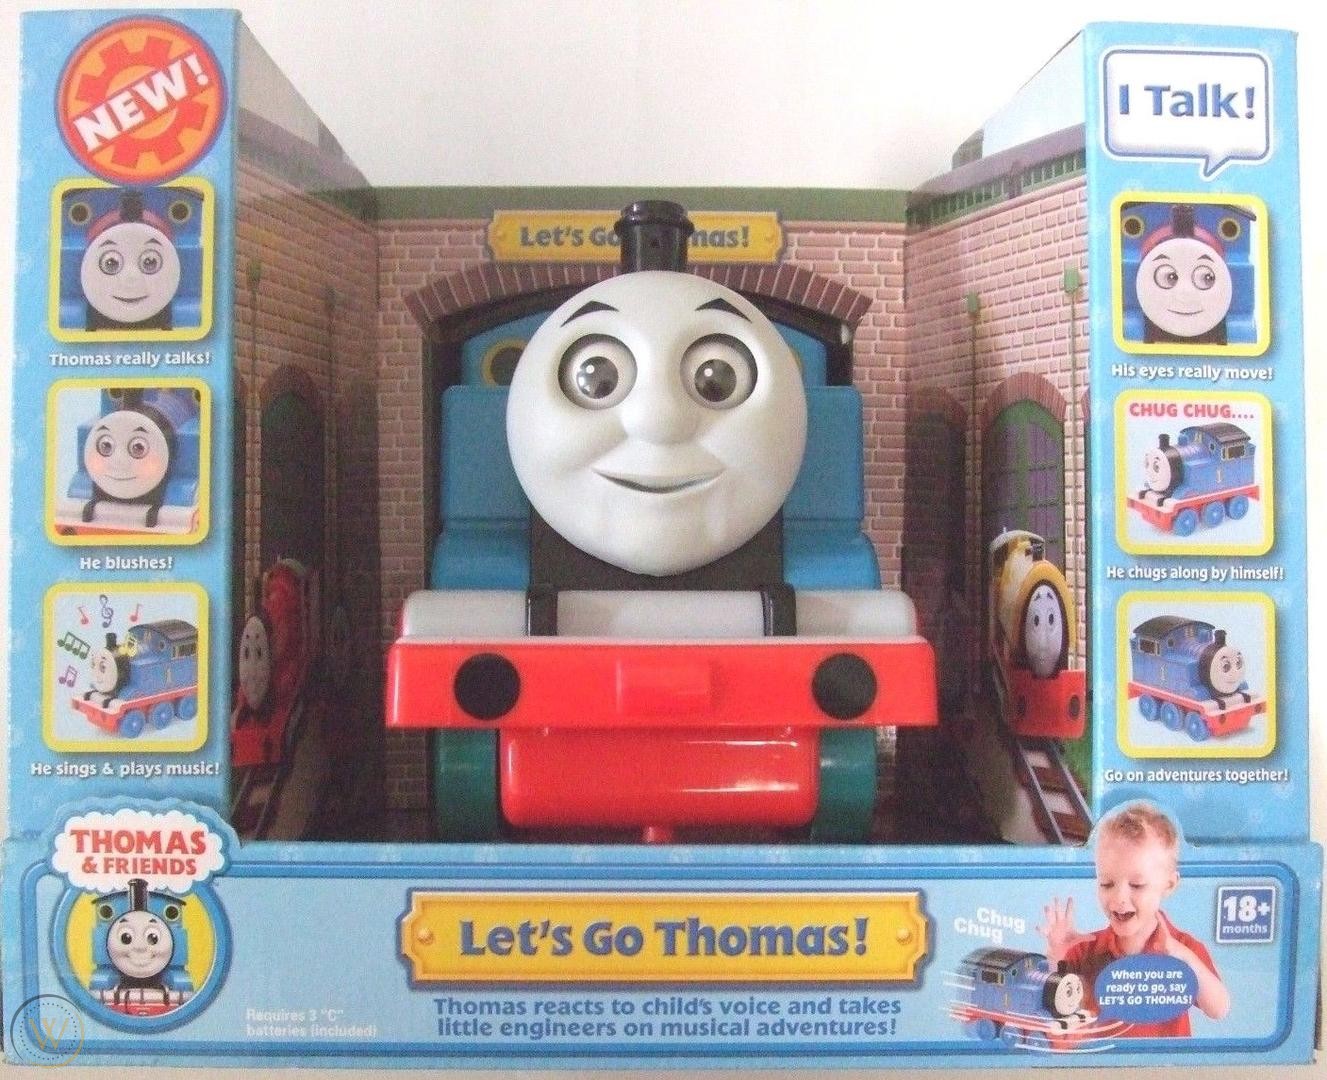
Let's Go Thomas has three different version of its box that were used when it was released. There's also one photo showing the prototype Thomas and the prototype in its box, which looks different from the three released box types.
The order in which I list the box types does NOT imply that the company changed the box types in that order (e.g. "Box 1" might not mean that this is the first version of the toy's box). I have only referred to them as "Box 1" or "Box 2" because I don't know a better way of referring to them.
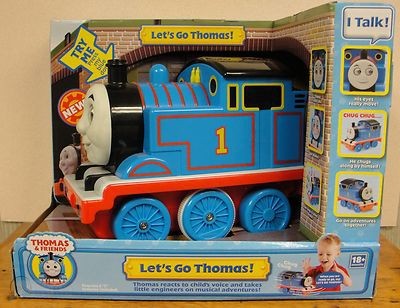
Box 1
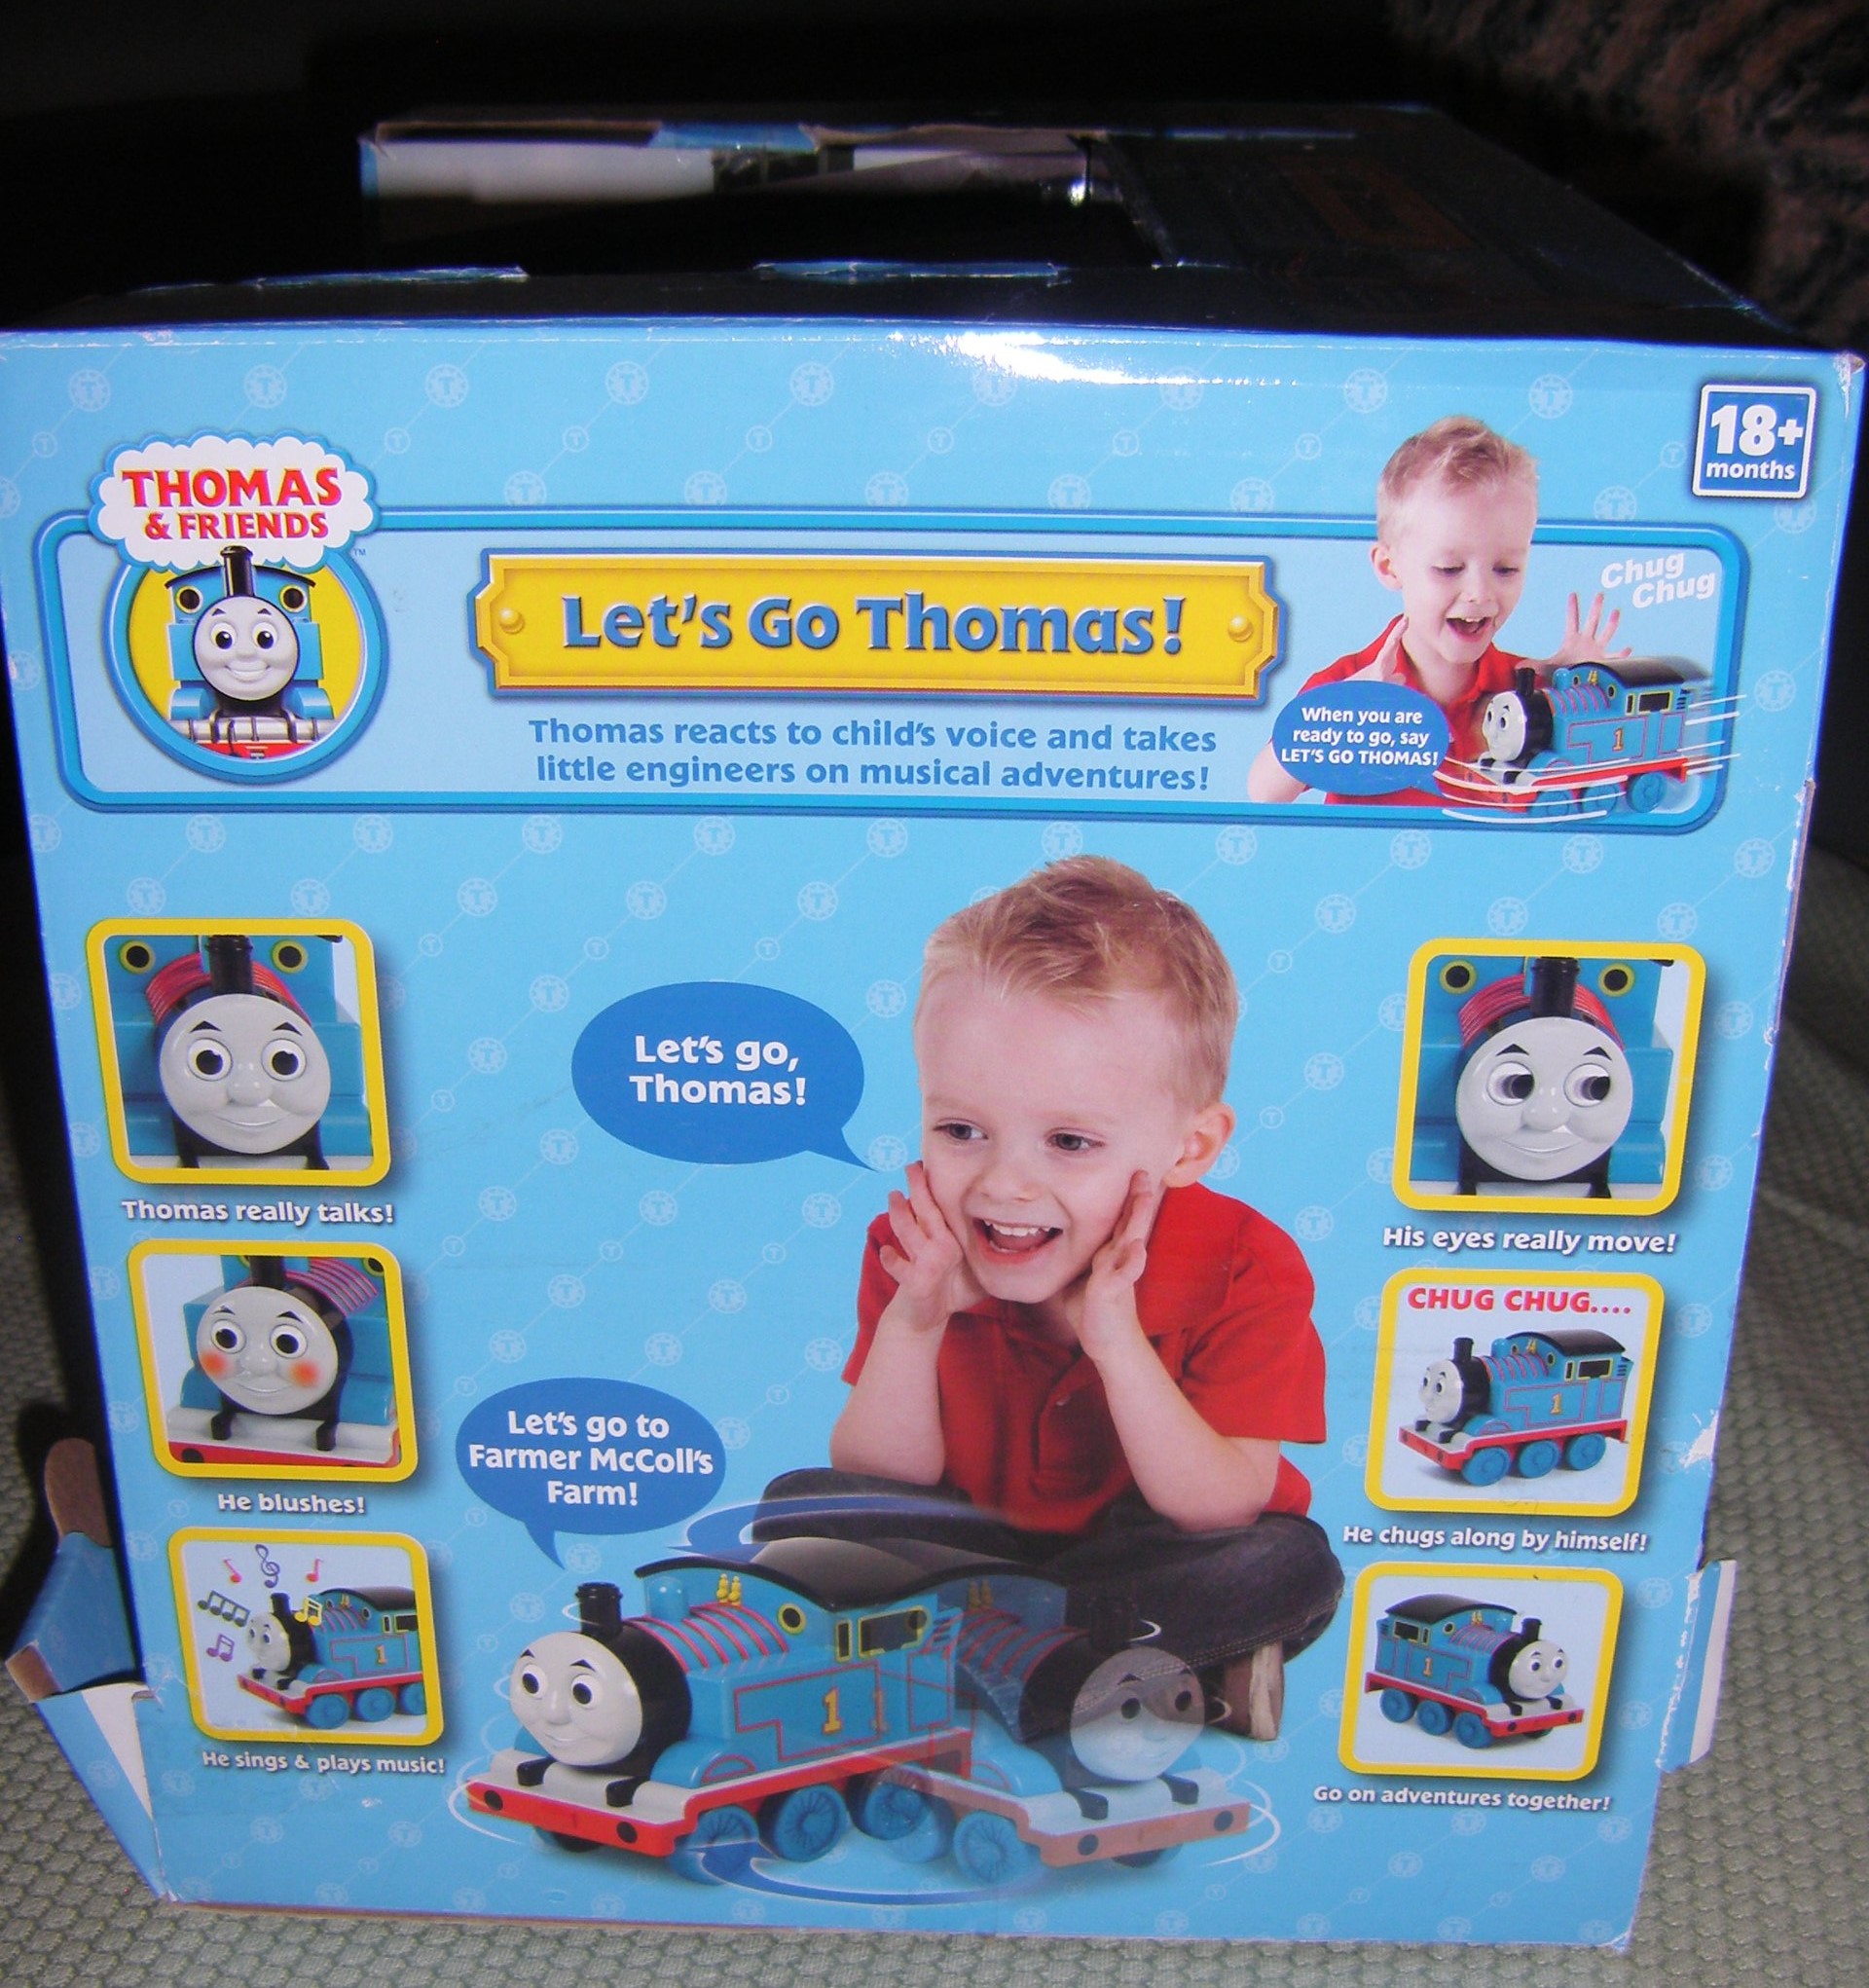
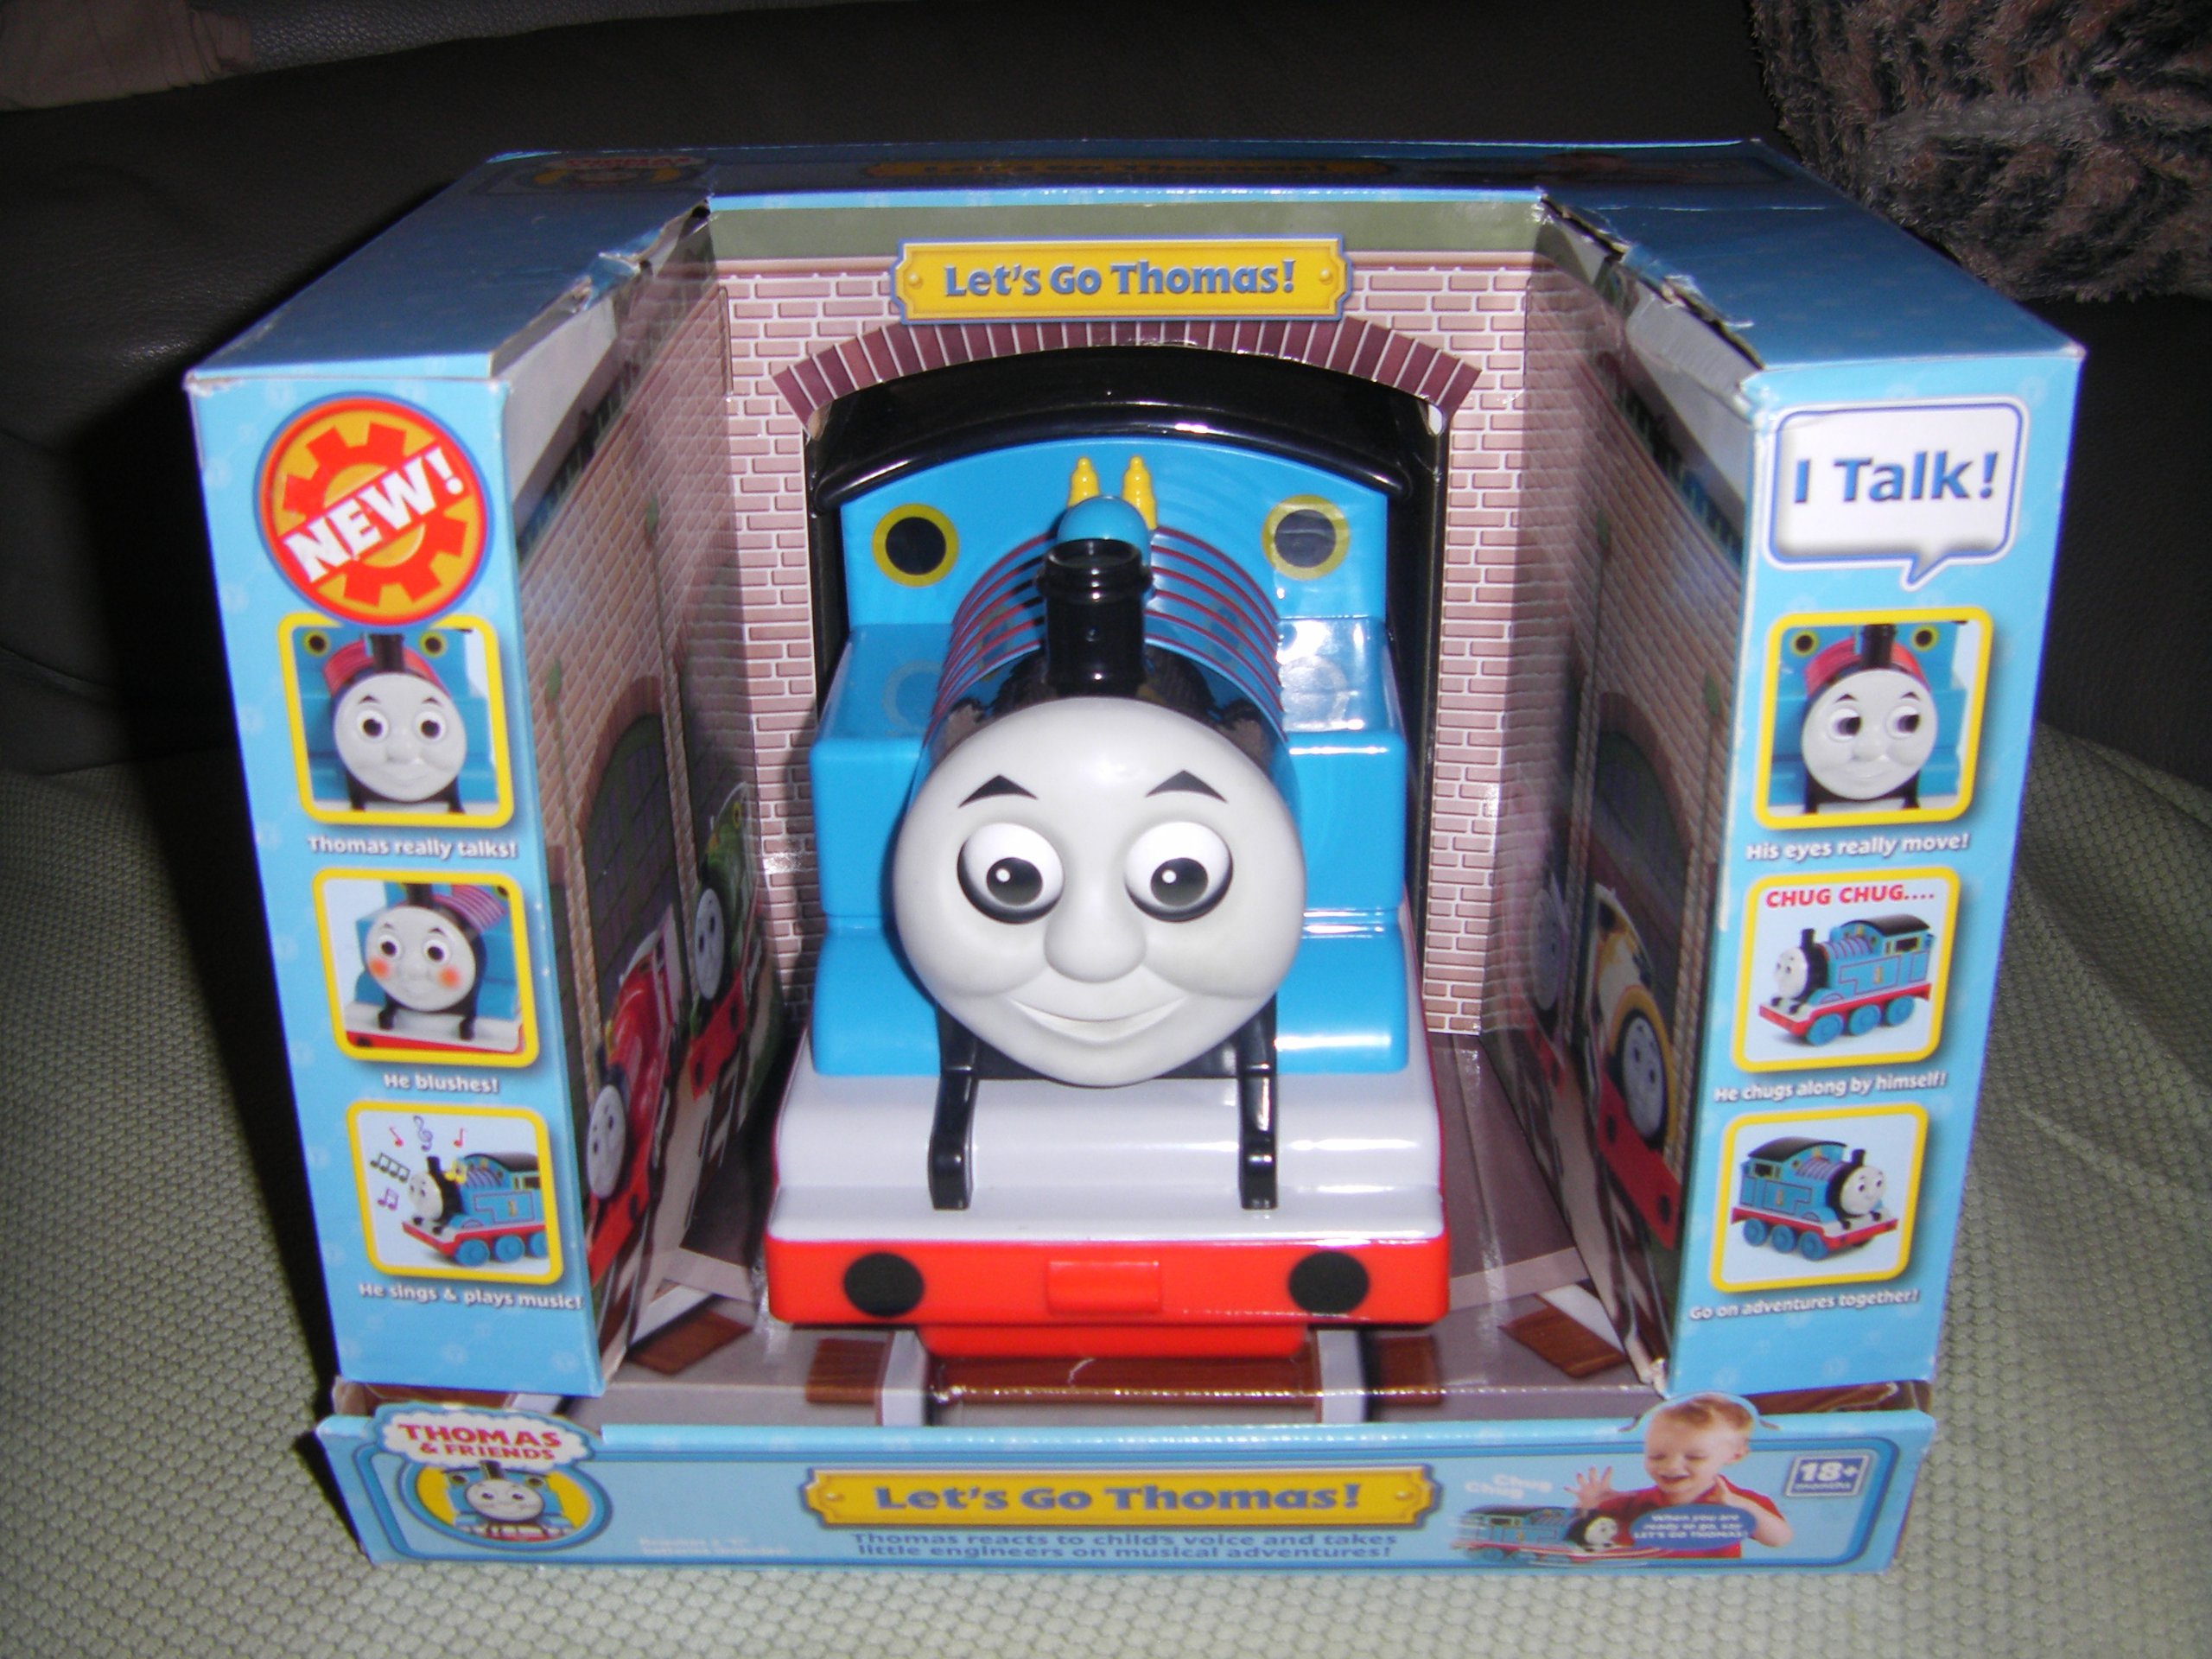
Box 1 features photos of trackmaster version of James, Percy, Rosie, and Bill in Tidmouth Sheds. The cardboard base the toy sits on has a turntable printed on it, while the inside of the back of the box shows the entrance of Thomas's shed. The left and right sides of the box show photos of the prototype Let's Go Thomas, with captions beneath each Thomas photo. From the front of the box, it looks like the box has a vertical rectangle on its right and left with the photos of Thomas. The box has a yellow plaque that says "Let's Go Thomas!" above the center of Thomas's shed.
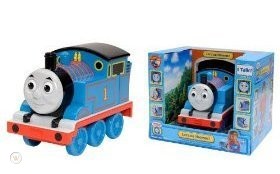
Box 2
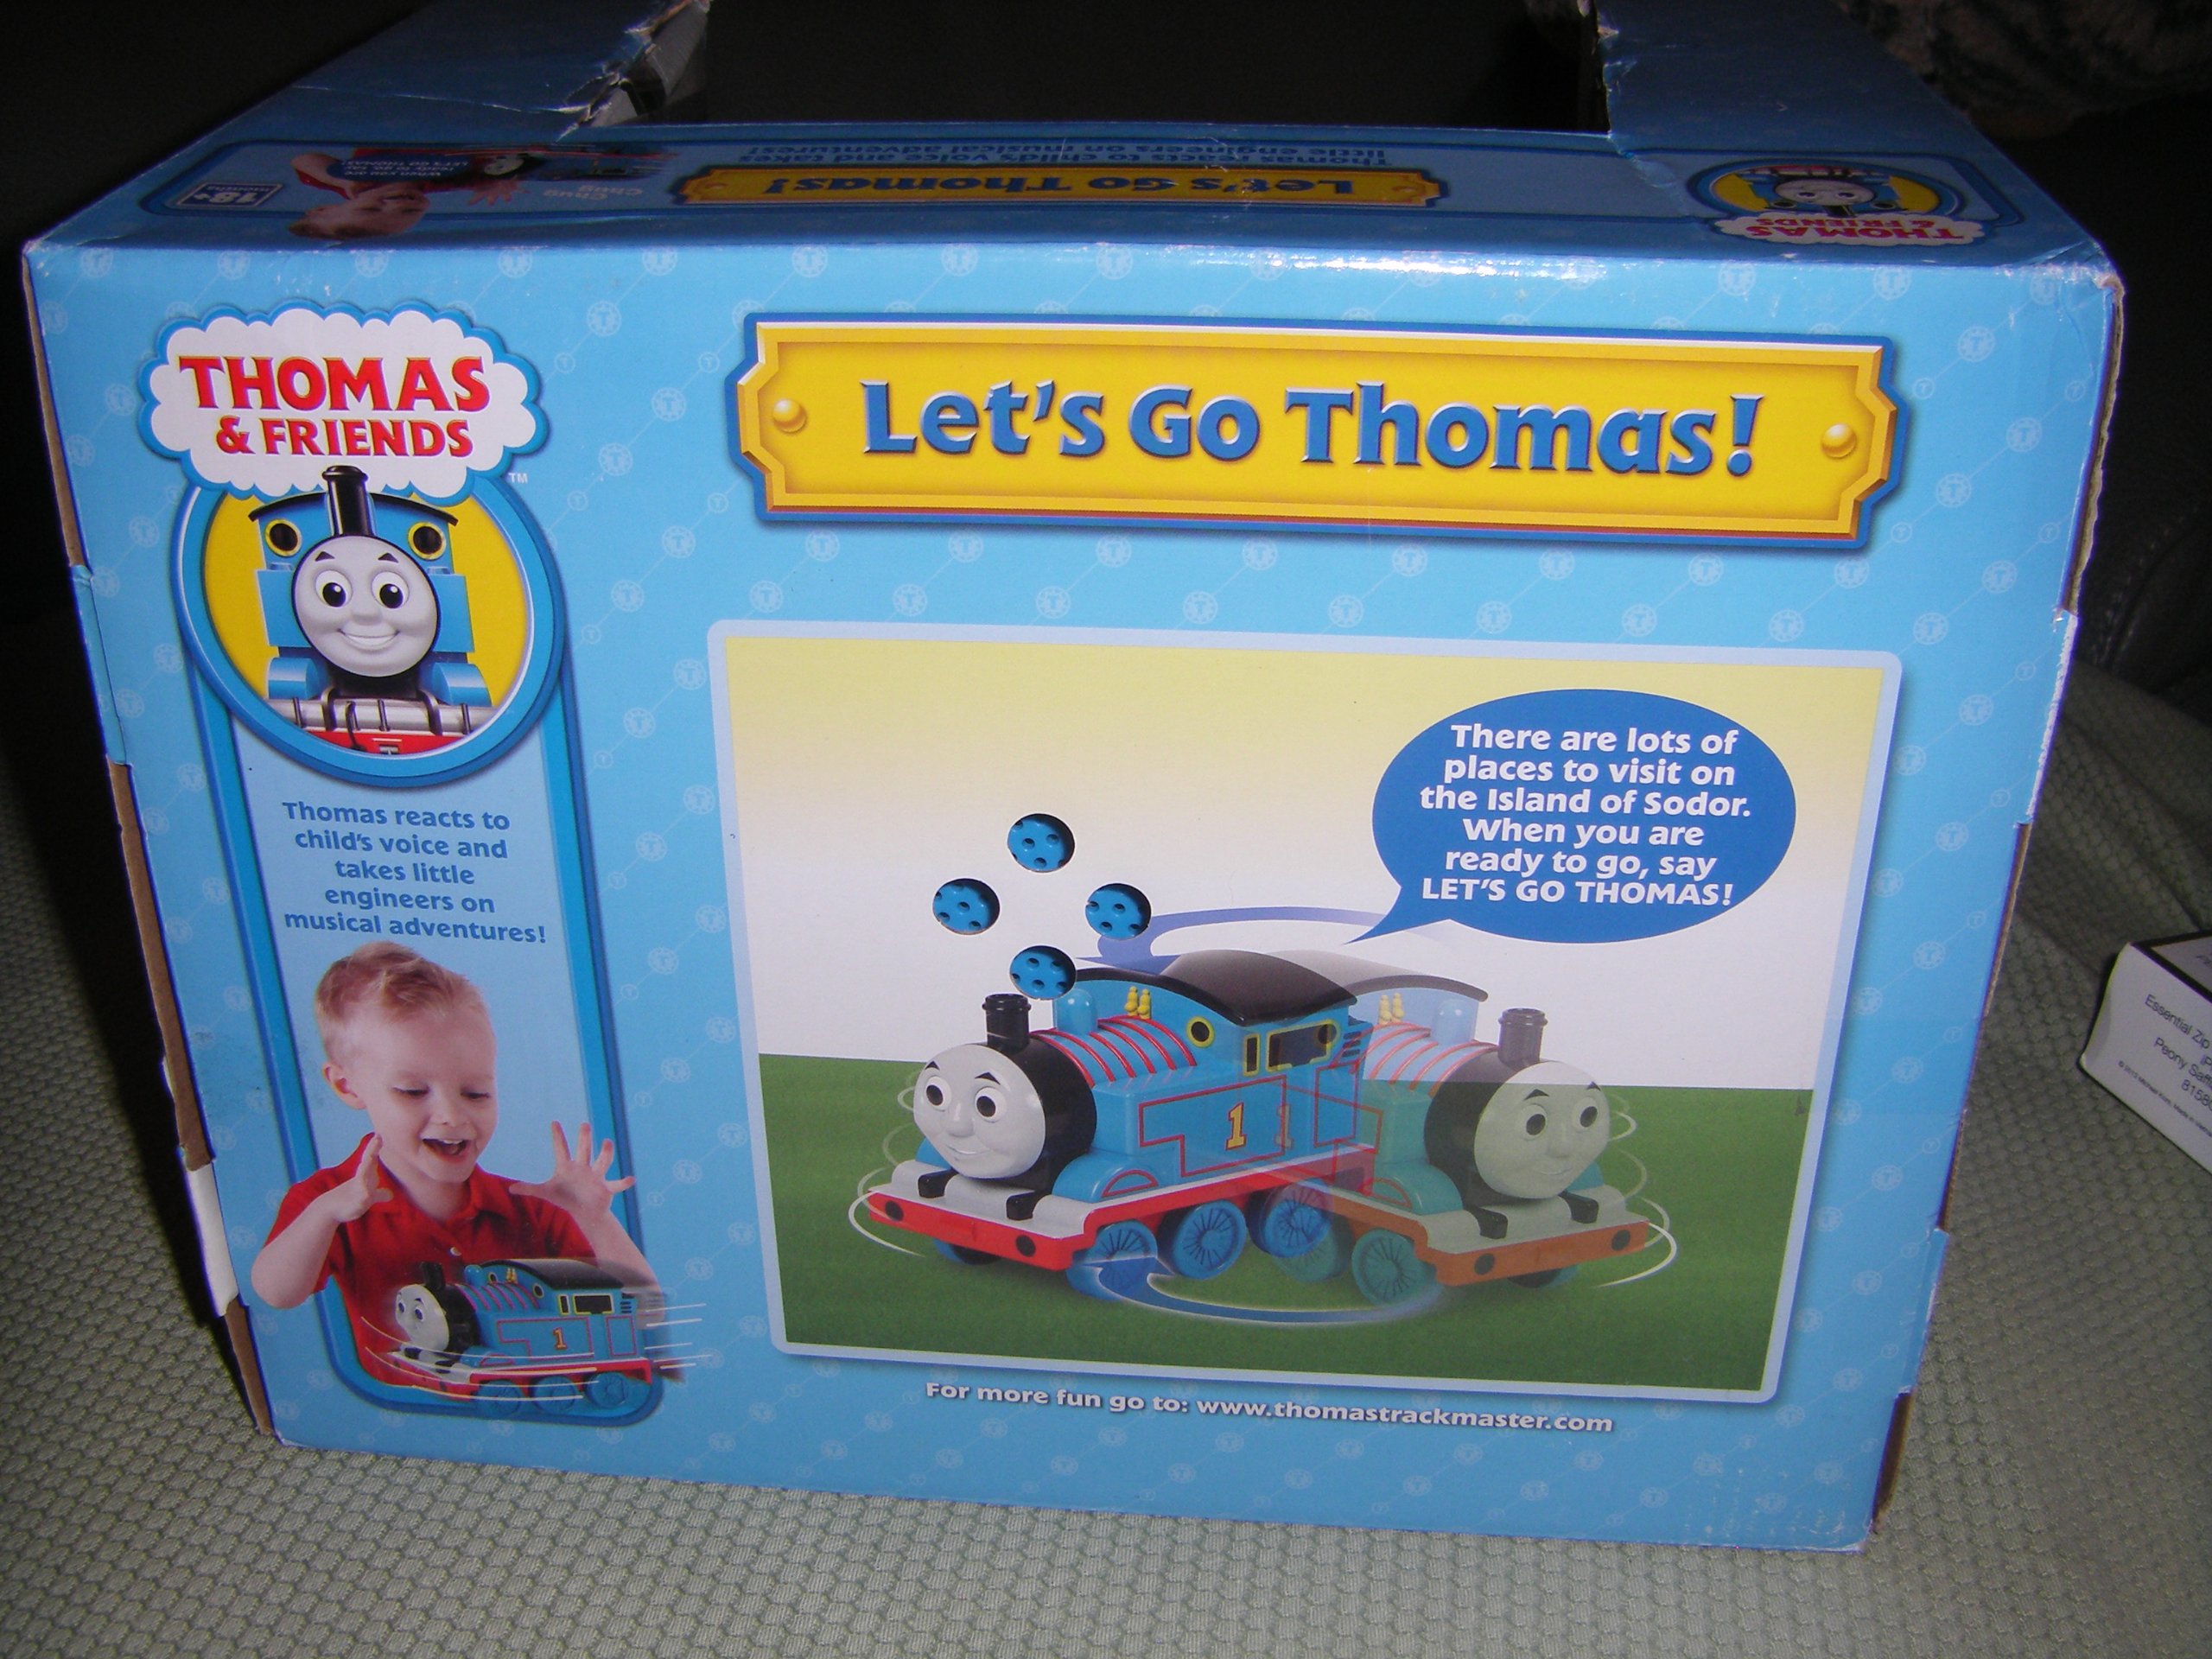
Box 2 is very similar to box 1. However, Thomas is on an angle and is facing the left. The opening of Thomas's shed is printed behind Thomas and on the part of the box that's on Thomas's right. No trackmaster trains can be seen, other than James on the right of Thomas. Unlike box 1, the left side of the box is open; there is no cardboard in the way. The yellow plaque which says "Let's Go Thomas!" is on Thomas's right, instead of being right above the center of the shed. This box also has a yellow arrow that says "Try me".
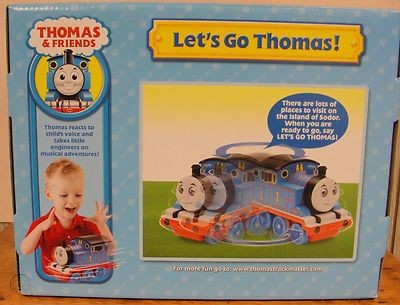
Unlike box 1, box 2 uses photos of the released Thomas toy on its packaging, instead of the prototype. While box 1 has speaker holes on the back for the toy so sound from it can be heard when its "Try Me" mode is activated, box 2 has speaker holes on its right.
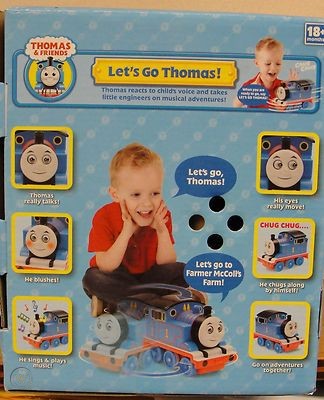
Box 3
Box 3 is basically box 1 but with photos of the released toy on the box instead of photos of the prototype version.
Prototype Box
While it isn't revealed in the commercial, an official photo showing the prototype Thomas in its box exists.
The background of this box is almost the same as box 1. On Thomas's right, you can see a different background, with trees, grass, and a blue sky with clouds. Thomas's shed is different; the wall around Thomas's shed looks more orange/brown, and the opening is outlined with a white frame that appears to go from top to bottom. A picture of a shield with Thomas coming out of it can also be seen on the front of the box on the left.
Videos
Links
- Source of the first image on this page
- Let's Go Thomas Amazon listing
- Photos of box 3
- Photos of box 2
- Prototype Thomas with unreleased box